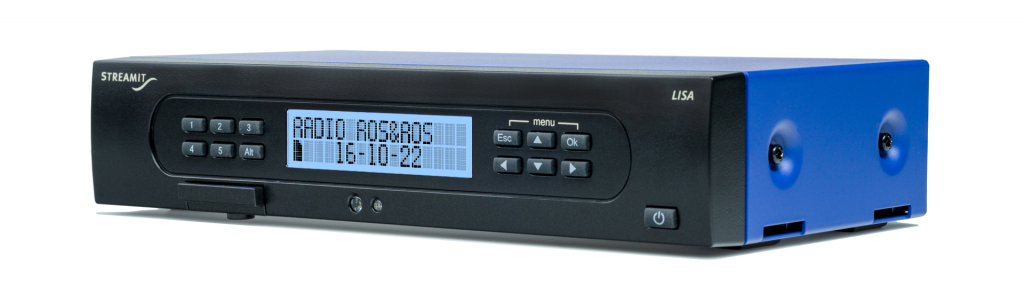
LISA LCD installation
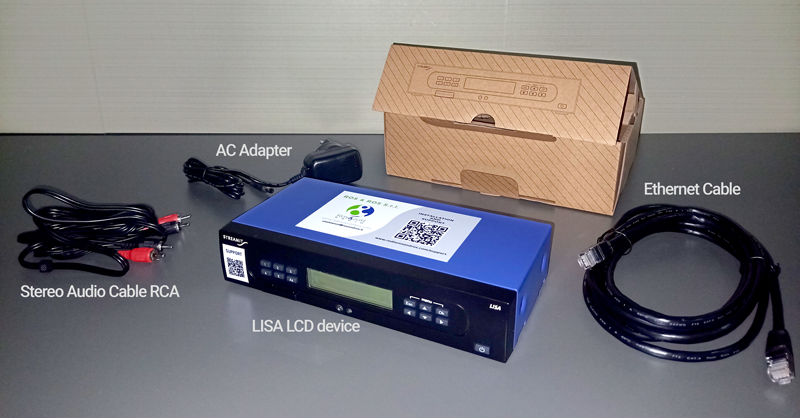
BOX CONTENT
- Installation instructions
- LISA LCD device
- Ethernet cable
- Stereo audio cable: 2 RCA <-> 2 RCA
- AC adapter 5V (WARNING: use only this AC adapter!)
1. CABLE CONNECTION
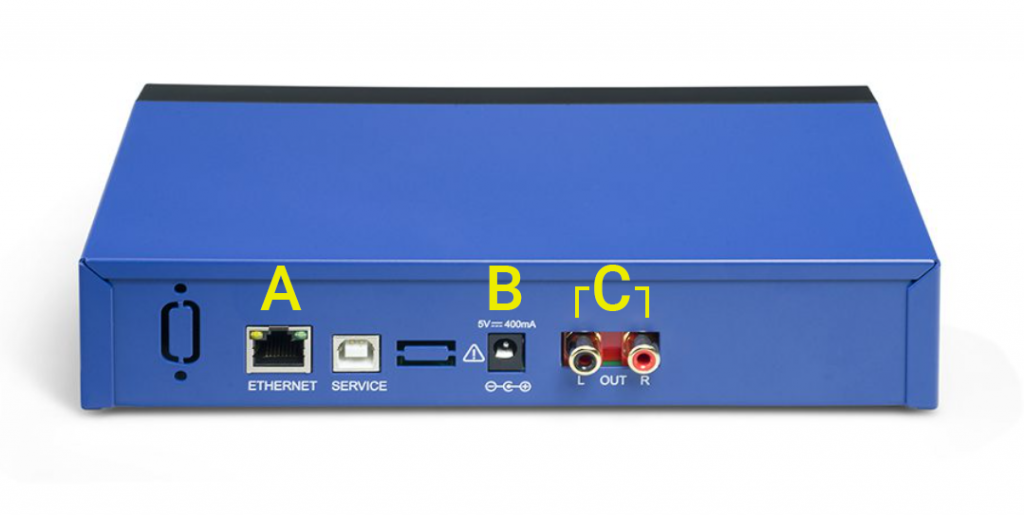
1.1 Connect the AC Adapter to the 220V outlet. Then connect it to the [B] port (WARNING: use only the AC adapter found in the box!)
1.2 Connect the ethernet cable to the ETHERNET port [A] and the other end to a router’s port; the two leds on the ethernet port will light up (green always on, orange blinking)
1.3 Connect the stereo audio cable with the RCA jacks to the [C] ports and the jacks on the other end to a stereo input channel of your amplifier or P.A. system (use the AUX IN input if it’s present on your system)
2. TEST CONNECTION
Make sure that the device is off. If it’s on, turn it off by clicking once the power button.
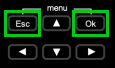
When the display is turned off, press ESC and OK buttons at the same time
the display will light up with the message SETUP

Press the “down” arrow
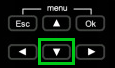
the display will show the message Service

then press OK
the display now will show this picture

Press the “down” arrow 6 times. Now the display will show the message “Connection test [OK] = Start”.

Press OK
The display should show “Testing…”
Now the screen should be like the following picture

Now press ESC three times, the device will show ”Powering Off…” and it will power off.
3. Now you can turn it on and it will automatically begin playing the current playlist.
The display will show the name of the file playing (song title or filename of the commercial) and the current date:

Turn on the volume on your amplifier system and enjoy your playlist!
WARNING: If the result letters are different, the test has failed, so please contact us via e-mail at:
assistenza@rosandros.it
or write a message on whatsapp to:
+39 335 847 7880
Please include your name, location/store adress and phone number. We will contact you as soon as possible).